eMAM post-implementation configurations
1. Filename Extension as .
Mime type : text/html
2. Filename extension : .dmg
Mime type : application/octet-stream
3. Filename extension : .rtin
Mime type : application/x-mpegURL
4. Filename extension : .epr
Mime type : application/octet-stream
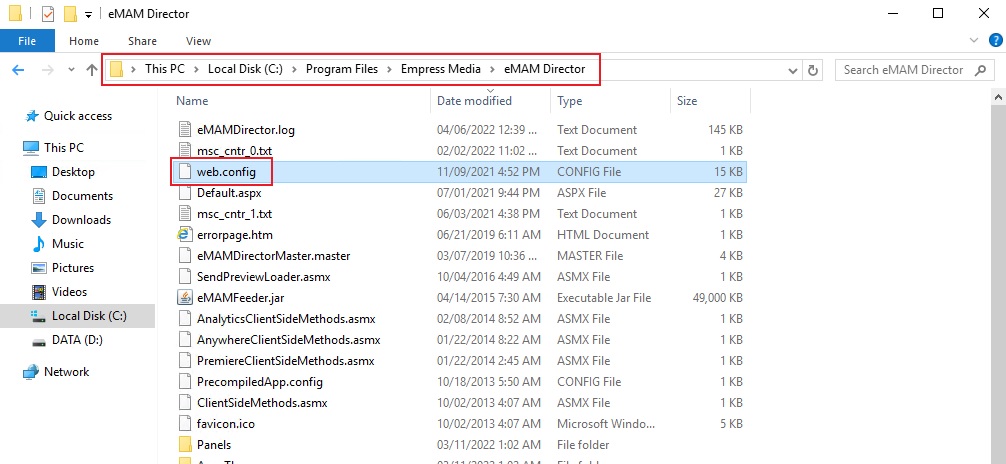
Go to file path “C:\Program Files\Empress Media\eMAM Director” in Web server and open web.config
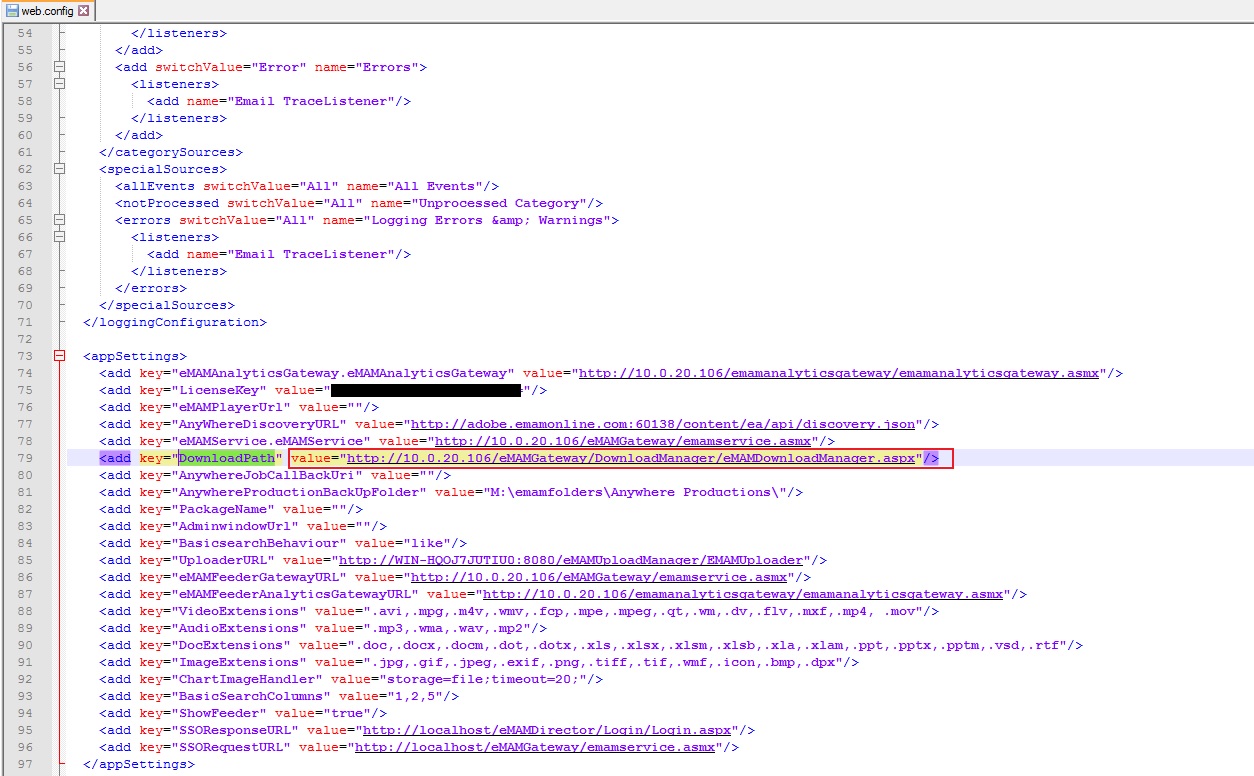
Inside
<appsettings> you can find the key for “DownloadPath” where we
have to give the value(URL) for the download path. This can be either IP
or Domain name in HTTPS or HTTP
Saving the configuration.
To make sure it’s accessible
Go to the eMAM director and try to download an asset. We will be prompted with a new tab just like below with the same URL we configured on the web.config in Director.
6. Put SSO logout URL in the Gateway config for the WSFED
Go to file path “C:\Program Files\Empress Media\eMAM Gateway” in Web server and open web.config
Inside <appsettings> you can find the key for “WsFedSignOutURL” where we have to give the value(URL) for the SSO sign-out URL.
Save the configurations
7. Add HTTP response header in the virtual directory
In order to set IIS for HTML plackback to work with both IP addresses and different domain names. Please use this link
8. Machine key configuration for the REST API
In the case where the bearer token for RESTAPI created from the first web server won’t work when it is pointed to the second server by the load balancer. We have to make sure both servers have the same machine key for follow this steps
- Correct the connection string details in the Rest API config,
Related Articles
Bug Fixes eMAM 5.4
Bug Fixes in eMAM 5.4 BUG ID DESCRIPTION 5.3.1_18NOV2021 11889 Storage DNA API change to handle "404 not found" in the response. 11899 Schedule metadata is not getting updated for PATCH api/v1/assets/{AssetId}/AssetMetadata 11708 PFR is not working ...Released eMAM Version 5.4 (April 2023)
EMAM, Inc. is excited to announce the release of eMAM version 5.4! This new release includes several key features and enhancements to help you manage your media assets more efficiently than ever before. In addition to the key features, eMAM version ...Release Notes eMAM Version 5 6
Introduction Welcome to the release of eMAM 5.6, the latest version of our industry-leading media asset management platform. This release introduces powerful new features, key enhancements, and integrations designed to optimize workflows, strengthen ...Release Notes eMAM version 5.4
Release Notes eMAM version 5.4 EMAM, Inc. is delighted to announce the release of eMAM version 5.4. This latest update includes several new features and enhancements that will help our users to be more productive and efficient in their video ...Release Notes eMAM version 5.5
EMAM, Inc. is excited to announce the release of eMAM version 5.5! This new release includes several key features and enhancements to help you manage your media assets more efficiently than ever before. In addition to the key features, eMAM version ...