How to change the Server URL in eMAM Panels in SSO authentication
If the SSO authentication is enabled, you have to follow the below
steps to change the Server URL in eMAM panels. Below example is
explained with eMAM panel for Premiere. Please check-in your projects
before proceeding with these steps.
1. First you have to uninstall the existing panel. Please follow the below steps,
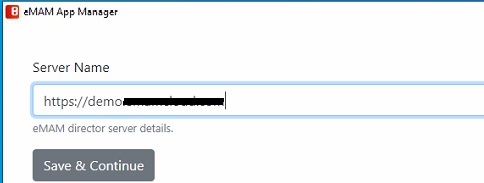
a. Open App manager from Windows Desktop of from Mac-> Application (If you cannot find App Manager, refer this - https://support.emamsolutions.com/portal/en/kb/articles/how-to-install-app-manager )
b. Provide the existing server URL and click on OK.

2. On the Premiere Pro CC icon, click on the Remove button.
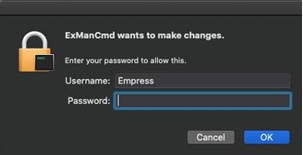
3. You need to provide the permission for Adobe Extension Manager,
a. Windows: Click on Yes.
a. Windows: Click on Yes.
b. Mac: Enter the system logged in username password.

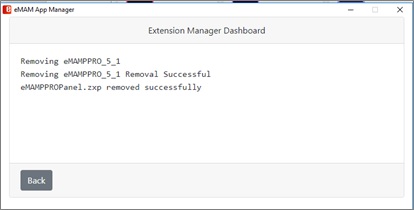
4. Once
the eMAM Premiere Panel extension is removed from your machine, below
message appears. Similarly, you can remove eMAM panel from other Adobe
applications too.

5. After removing the panel please access this location,
a. Mac: From Mac desktop choose Go-> Go to Folder
b. Provide the path as /Users/Shared
c. Find eMAMPPRO_CONFIG and move the folder to Trash
Windows: Go to this folder C:\Users\Public
Find the folder eMAMPPRO_CONFIG and delete it
6. After removing the folder, re-open the App Manager by giving the new server URL and install the panel
a. The installation begins. You will be prompted to give Adobe Extension Manager the permission to proceed with the installation.
Windows: Click on Yes
Mac: Enter the system logged in username password and click OK.
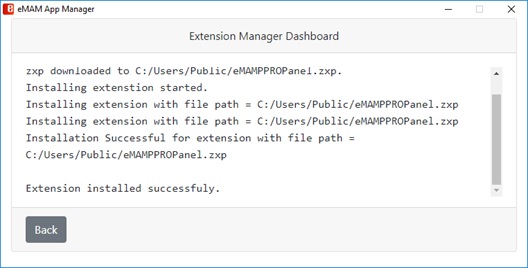
c. After a while, you can see the Extension Manager Dashboard displaying the installation status messages. Once the installation is complete, you will see “Extension installed successfully”.

7. After the installation of panel, open Premiere Pro CC and provide the NEW
server URL and hit OK. If the SSO is enabled, it will be redirected to
the SSO page and the user can enter the user name and password there.

Related Articles
Bug Fixes eMAM 5.4
Bug Fixes in eMAM 5.4 BUG ID DESCRIPTION 5.3.1_18NOV2021 11889 Storage DNA API change to handle "404 not found" in the response. 11899 Schedule metadata is not getting updated for PATCH api/v1/assets/{AssetId}/AssetMetadata 11708 PFR is not working ...eMAM Workgroup 5.3
eMAM Workgroup Server Specs DoceMAM Vault Server Spec Guide
Refer the attachment for eMAM Vault Server Spec GuideRelease Notes eMAM Version 5 6
Introduction Welcome to the release of eMAM 5.6, the latest version of our industry-leading media asset management platform. This release introduces powerful new features, key enhancements, and integrations designed to optimize workflows, strengthen ...eMAM Publish Server Spec Guide
Refer the attachment for eMAM Publish Server Spec Guide